Earlier in this thread, I mentioned that I was going to try a cheaper alternative to the Furrion. I've had it for about two weeks, but haven't had the RV until today to do the install.
This is my review of the system, and how I installed it.
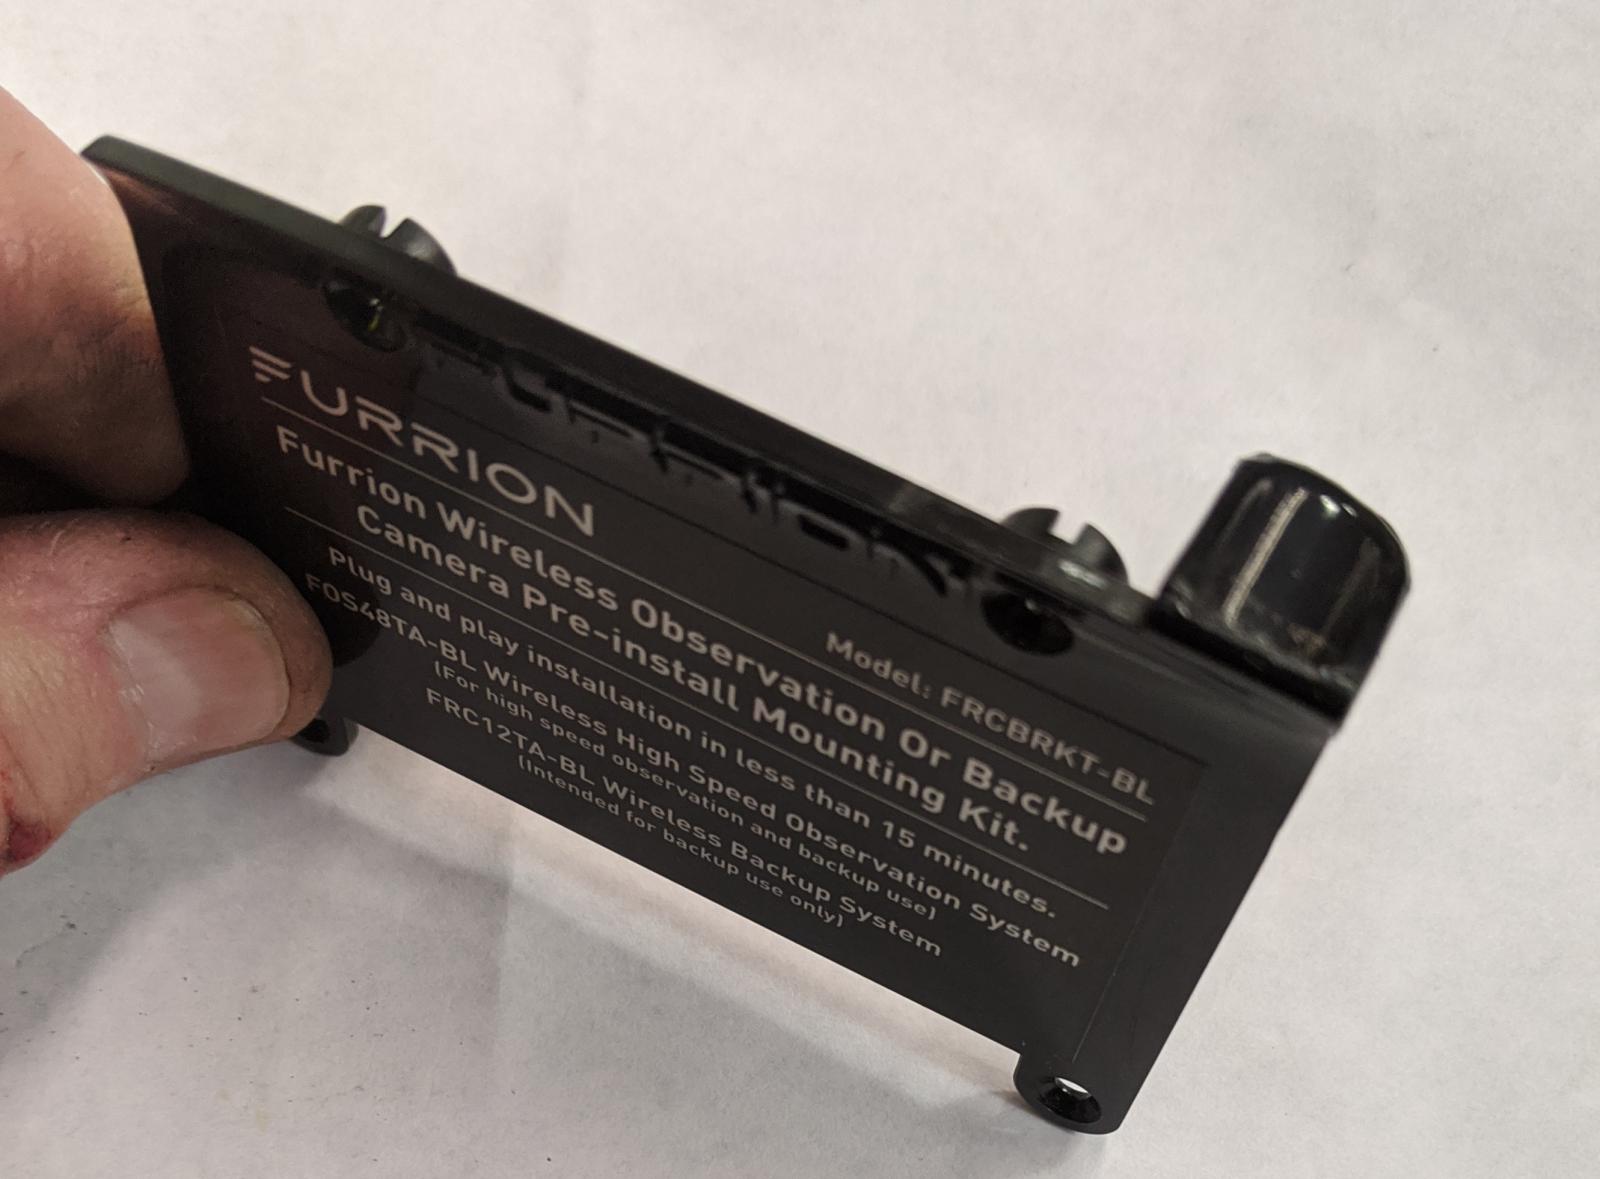
This is the unit that I got:
https://www.amazon.com/gp/product/B0...?ie=UTF8&psc=1
I got it because I wanted something that was HD, and I wanted a 7" screen. Reviews seemed good. It does NOT come with a windshield mount, but one is available if you send them an email, and that address is in the owner's manual. Speaking of owner's manual, it's a little sparse, but pretty much covers all of the bases.
I needed an "adapter" to use the existing wiring. I happened onto this wiring adapter, and mount kit. Looked good, had a lot of holes, and I figured that I should be able to make it work somehow. Reviews said that the wiring did NOT work, and you still had to do some wiring. More on that later.
https://www.amazon.com/gp/product/B0...?ie=UTF8&psc=1
It was a good thing that I had to wait to install the unit, because I started trying to figure out how the bracket was going to work. As it turns out, in order to use the bracket I bought, you have to remove the shark fin, and use the bracket. You leave the shark fin "gasket" on there though. That seemed like a cheesy way to go.
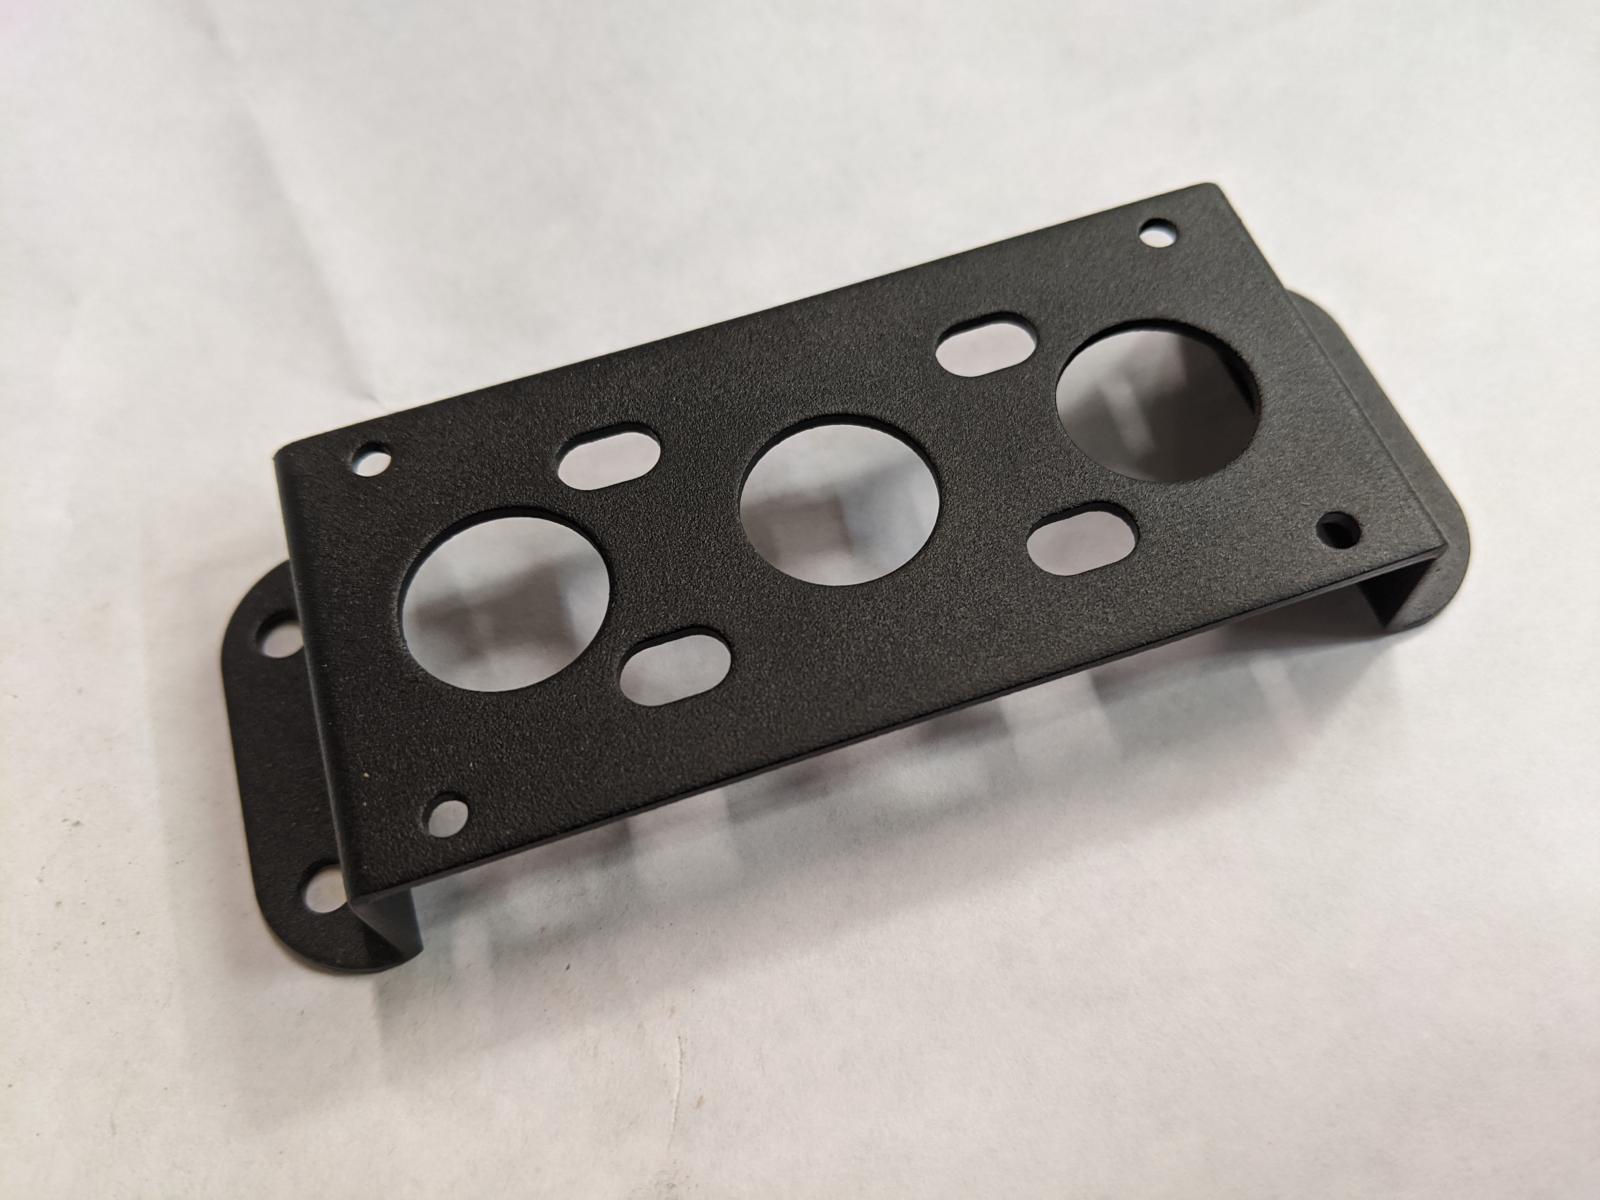
So, I happened onto this bracket and wiring adapter:
Other bracket:
https://www.amazon.com/Haloview-Brac...ronics&sr=1-17
I went and looked online, and I realized that THIS was the bracket to have. You unscrew the Furrion plastic plate, and this goes in it's place. PLUS, there was a small bonus on this Amazon listing, they had a fully dimensioned drawing of what the plate looked like. SCORE! I quickly drew it up. More on that in a bit.
Now, onto the install at hand.
Realizing that I was not going to use the original bracket, this one:
I had to do something else. As a recovering engineer, I never do anything the "easy" way. I have to find the hardest most complicated way to do something.

Remember that drawing that was on that Amazon website? Well I decided to make one of those, but with a twist. After looking at the Furrion plastic cover, I decided that I did NOT want to lose that piece, because it has an extra feature on it that closes up the antenna hole. That's important in my case, because I won't be using the antenna hole. The feature is to the right on this pic:
So, I found some aluminum and I made a plate that fit OVER the plastic piece. This is what it looked like when it was done (before painting):

One of the issues that I ran into was that the screws that hold the plastic piece on, are very small and short. Had to go to the hardware store, and picked up some #6 x 1/2 wood screws that fit the bill, and worked rather nicely.
Now, time to put it all together. In the end, I WAS able to use the supplied wiring adapter WITHOUT any modifications, and that was nice. One thing that I did run into though, was that the space inside of the shark fin was barely big enough to cram all of the wires into, but I was able to get them all in there, and everything screwed up nicely. Now I have an install in the back that is closed up, and have a metal backer so there's some substance there.
Here is a pic of the final camera install:

If you notice in this picture, the antenna does NOT sit vertical. The antenna that comes with this unit, only goes perpendicular to whatever the angle of the camera is. After reading about this online, I was concerned about this, but didn't have anyway to fix / change it. The other issue that I have, is that I'm unable to use a second set of screws in the arced slot. The unit comes with the, but they only work if the mounting bracket if vertical, and now mine is at an angle. I don't anticipate this being an issue, but will need to watch that for sure. Not an easy fix either, if it has to have the second set.
Onto the install in the truck.
Turned on the truck lights to light up the clearance lights, plugged in the cigarette lighter adapter, and turned on the screen. Nothing. Unit says that it can't pair. I'm going thru the menus, trying to figure it out, and then the image comes on for a couple of seconds and goes away. Now I'm puzzled. I then realize that I do NOT have the antenna on the camera installed! After installing that, while sitting on the console of my truck, I was getting FULL signal to the camera. Here's a picture of what the image looks like:

Pictures probably don't do it justice, but I"m happy with the image. Seems to be nice.
That was not the final home, though, and I attached the windshied adapter, and placed it beside the mirror. Don't need the rear view when the RV is on. Here's a picture of the final install location, and image: (you are looking into the sun here too):
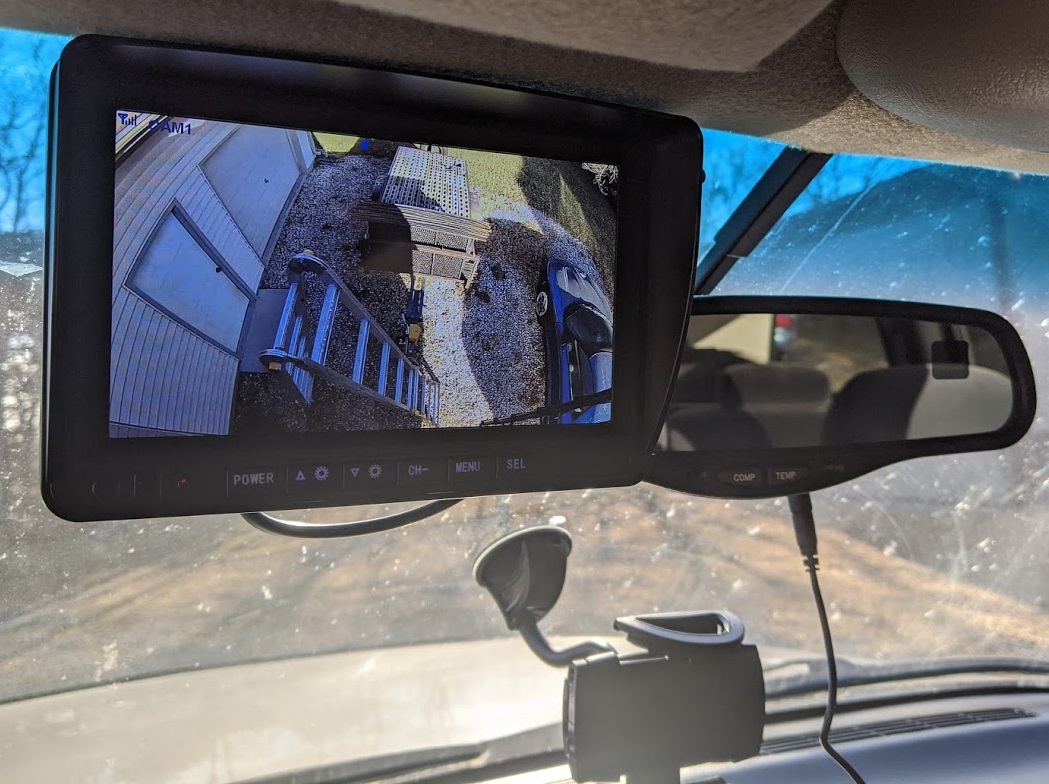
I have noticed that when it's in this location, the signal strength will go from 3 bars to 4 bars (it was a solid 4 when it was on the console). So that's something that I'll have to watch. I have NOT had a chance to drive with the unit yet either, so I don't know how it will act when I'm driving, coming in and out, but I'll test that tomorrow on a quick run. I don't expect that we will have interference issues here either, because we live in a town of only 4000.
All-in-all, so far, my take on it is that it is well worth the money. I'm very pleased with it, and that could change when we go for a drive. At this point, I'm glad that I didn't spend $700 on a 7" Furrion, but I had to work a little bit to get the camera installed. Sure, you can install a Furrion in 30 minutes, but even though I worked on this for about 4 hours today (I'm slow), the Furrion is not worth an additional $500.
Hopefully this information is helpful to those considering other options...